
I have already blogged a how-to on one of my favorite decorating displays- wall collages. But for our family room, I had a more unexpected wall collage in mind. I think books are a decorating staple, so a book collage seemed like just the ticket.

Since I was actually planning to put nails through the books, I didn't want to use any beloved pieces from our personal library. So the first thing I needed was a stack of books I didn't really care about. Like most of the projects in my home I wanted it to cost very little so I started months ahead looking out for aesthetically pleasing books that were cast-offs to someone else. I raided my kid's school co-op's free pile and a local second-hand bookstore's free bin. I think the most I paid for one of the books was 50 cents at a yard sale.
Some of the books were old and absolutely perfect. But the for the newer ones that I wanted to age, I used a tea staining method you can read about here.
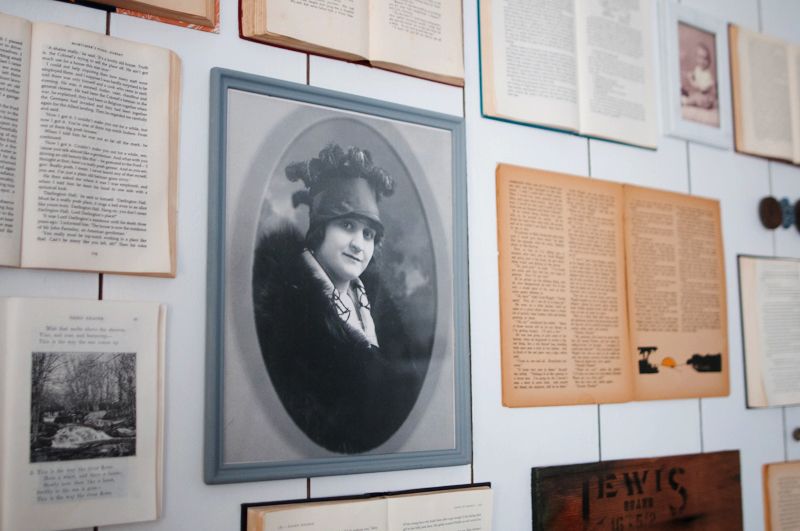
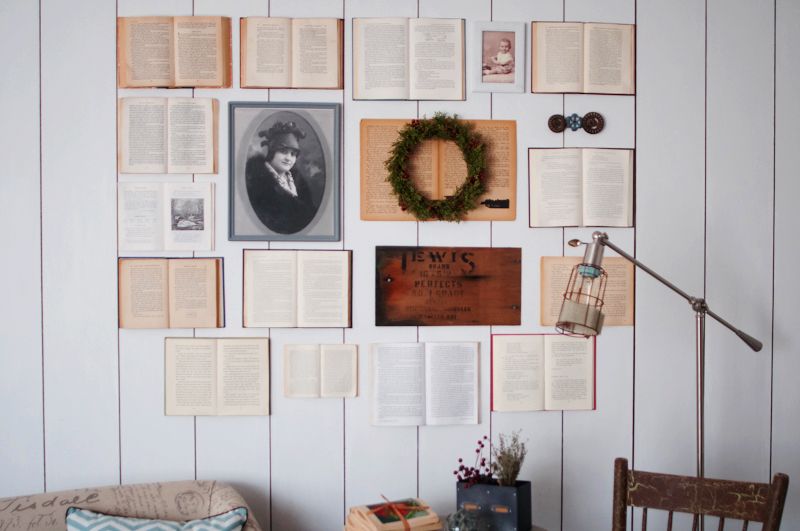
When I finally had enough books, I gathered a few other special pieces for the collage. For mine, I used a fabulously eclectic picture of Steven's great grandmother, a sweet photo of my grandfather as a toddler, a decorative spoon bearing the name of my father's birthplace, an antique wooden sign I picked up in Oregon, and some old water-spigot handles for a random touch.
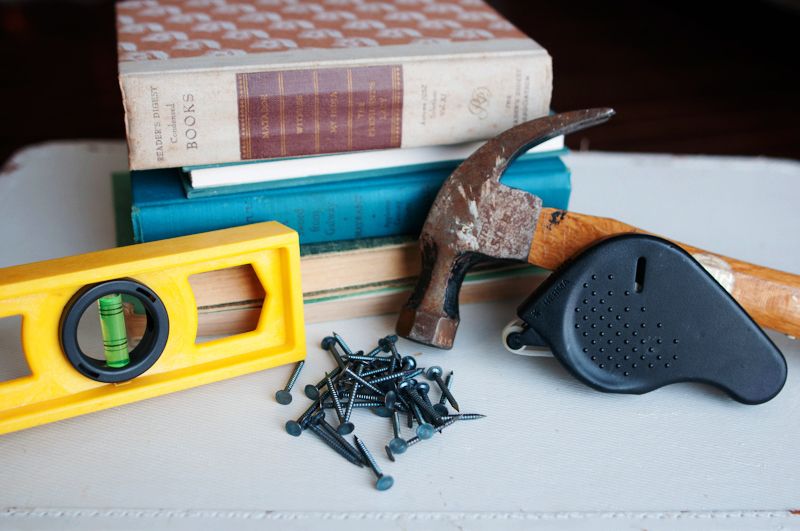
Now the only tools I need were:
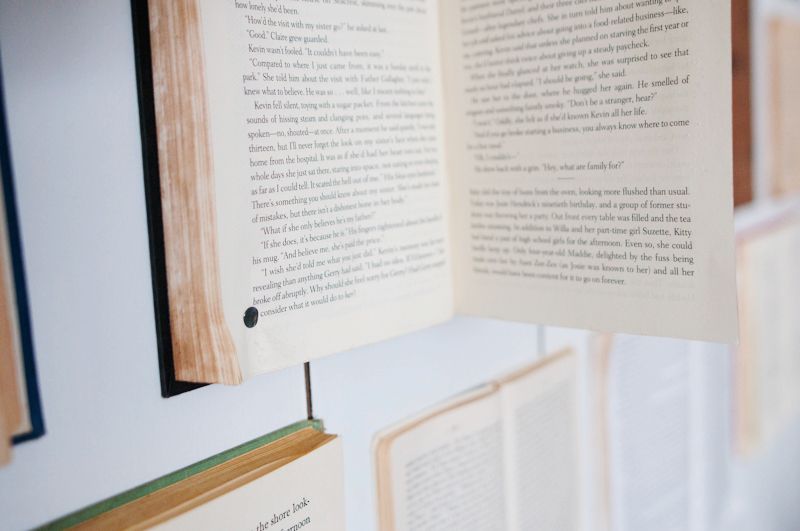
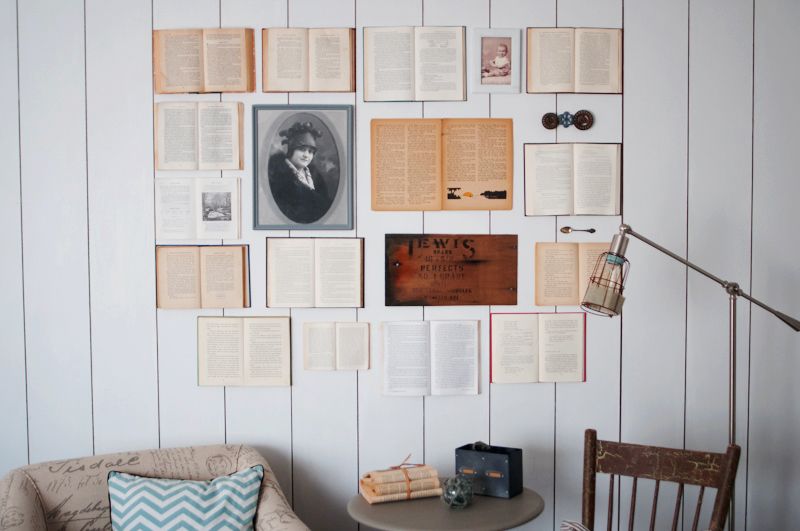
To plan it properly I laid it out on floor to figure out the collage dimensions I wanted. Because I could hold the books in place and literally nail through them, I ditched my usual method for collages. Instead I laid the pieces out on the floor until I decided upon an aesthetically pleasing design, and then simply used a level and measuring tape to figure out where to place the first book. I opened the book in the middle leaving two pages sticking up. Then I began to nail in all four corner approximately 1/2" from the page corners. It is important to leave those two center pages untouched for now since they are going to be what you will use to hide the nails.
Then I took my dry adhesive making a strip on the outer edge of the nailed pages.
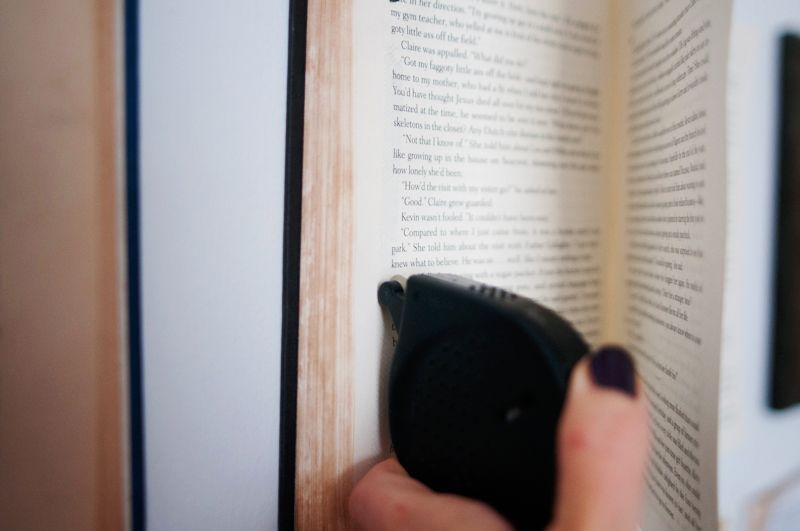
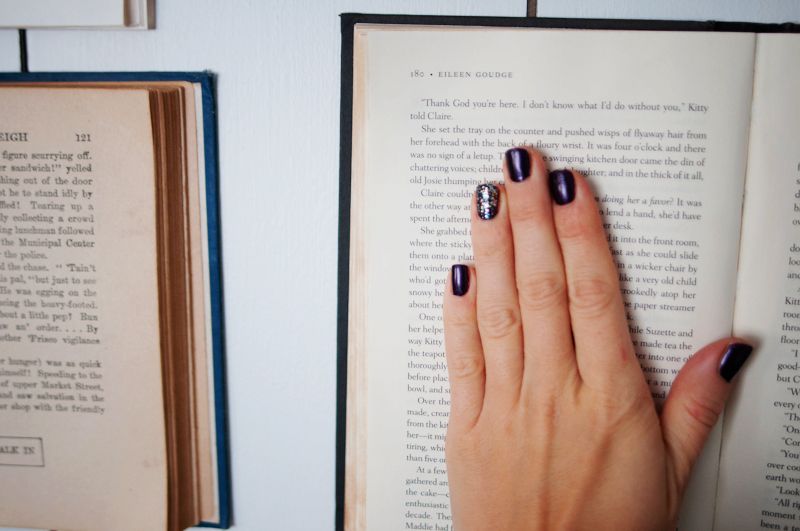
Once the dry adhesive is on the nailed pages, then simply smoothly those two pages you left in the center onto either side so that they adhere to the nailed pages. Doing this will hide any evidence of how on earth you got those books to stay on the wall like that!
I made sure to mix sizes and intersperse the other items in a way that didn't look too perfect. Isn't that photo of Steven's great grandma just the neatest thing!?
Dressing it up for Christmas was as easy as sticking a little wreath on one of the big books. It's now one of my favorite spots in the house.
The fun of decorating is thinking outside the box...or the bookshelf.

Since I was actually planning to put nails through the books, I didn't want to use any beloved pieces from our personal library. So the first thing I needed was a stack of books I didn't really care about. Like most of the projects in my home I wanted it to cost very little so I started months ahead looking out for aesthetically pleasing books that were cast-offs to someone else. I raided my kid's school co-op's free pile and a local second-hand bookstore's free bin. I think the most I paid for one of the books was 50 cents at a yard sale.
Some of the books were old and absolutely perfect. But the for the newer ones that I wanted to age, I used a tea staining method you can read about here.
When I finally had enough books, I gathered a few other special pieces for the collage. For mine, I used a fabulously eclectic picture of Steven's great grandmother, a sweet photo of my grandfather as a toddler, a decorative spoon bearing the name of my father's birthplace, an antique wooden sign I picked up in Oregon, and some old water-spigot handles for a random touch.
Now the only tools I need were:
- measuring tape
- level
- hammer
- nails
- photo mounting adhesive (or some other sort of dry adhesive)

To plan it properly I laid it out on floor to figure out the collage dimensions I wanted. Because I could hold the books in place and literally nail through them, I ditched my usual method for collages. Instead I laid the pieces out on the floor until I decided upon an aesthetically pleasing design, and then simply used a level and measuring tape to figure out where to place the first book. I opened the book in the middle leaving two pages sticking up. Then I began to nail in all four corner approximately 1/2" from the page corners. It is important to leave those two center pages untouched for now since they are going to be what you will use to hide the nails.

Then I took my dry adhesive making a strip on the outer edge of the nailed pages.

Once the dry adhesive is on the nailed pages, then simply smoothly those two pages you left in the center onto either side so that they adhere to the nailed pages. Doing this will hide any evidence of how on earth you got those books to stay on the wall like that!

I made sure to mix sizes and intersperse the other items in a way that didn't look too perfect. Isn't that photo of Steven's great grandma just the neatest thing!?

Dressing it up for Christmas was as easy as sticking a little wreath on one of the big books. It's now one of my favorite spots in the house.

The fun of decorating is thinking outside the box...or the bookshelf.

This is so creative, Alyssa! I love the shape/layout of your grid. Nicely done.
ReplyDeleteThanks. I'll take it as a big compliment that this spans the gender divide!
Delete